Thanksgiving Delights
On Thanksgiving Day we’re thankful for
Our blessings all year through,
For family we dearly love,
For good friends, old and new.
For sun to light and warm our days,
For stars that glow at night,
For trees of green and skies of blue,
And puffy clouds of white.
We’re grateful for our eyes that see
The beauty all around,
For arms to hug, and legs to walk,
And ears to hear each sound.
The list of all we’re grateful for
Would fill a great big book;
Our thankful hearts find new delights
Everywhere we look!
By Joanna Fuchs
********************************************************
My Family's Thanksgiving 2010 Menu

Cheese Ball & Crackers
Roast Turkey
Pan Gravy
Cornbread Dressing with Bacon & Onions*
Mashed Potatoes
Pumpkin Yeast Rolls*
Sweet Peas with Pearl Onions
Crustless Pumpkin Pie*
Pumpkin Bread Pudding*
Apple Crisp*
*Recipe follows
*************************************************
Hints for a Delicious Turkey

I don't inject my bird. I don't deep fry it. I don't really do anything special. But my turkey is always the moistest, most delicious around. How do I do it? Well, Grammy always taught me that the most important thing about cooking is paying attention to detail. Not skill. Not talent. But rather taking care...doing the job at hand and doing it well. Pay attention to the foods you're cooking. My biggest turkey tip:
Baste it. A lot.
Keep squirting or spooning the juices over your bird. This keeps the bird moist and helps even browning.
More tips:
Rub your bird, inside and out, with a high-quality olive oil. Then, rub in your favorite herbs. I like to use garlic, pepper, and salt..only those three. You can get fancier, but I find that those three make the best flavor.
To stuff, or not to stuff?
I've done both. I prefer unstuffed. I like to cook my dressing on the side, and I stick a whole onion (stick it with a fork a few times first), a couple cut-up carrots, and some celery in the cavity to add flavor to both the bird and the drippings -- which you'll use for gravy later!
Use a meat thermometer. These are available at low cost. They're tremendously useful. Another way to tell when your bird is probably done: The wings and drums will wiggle loosely in their sockets. A meat thermometer is your best bet, though.
Avoid cross-contamination.
Defrost in the fridge. I pulled out my turkey on Sunday and it was perfectly thawed this morning.
Emergency thawing: place the WRAPPED turkey in a clean sink full of cold water. Change the water every thirty minutes until the turkey is thawed.
****************************************************************
Thanksgiving Recipes
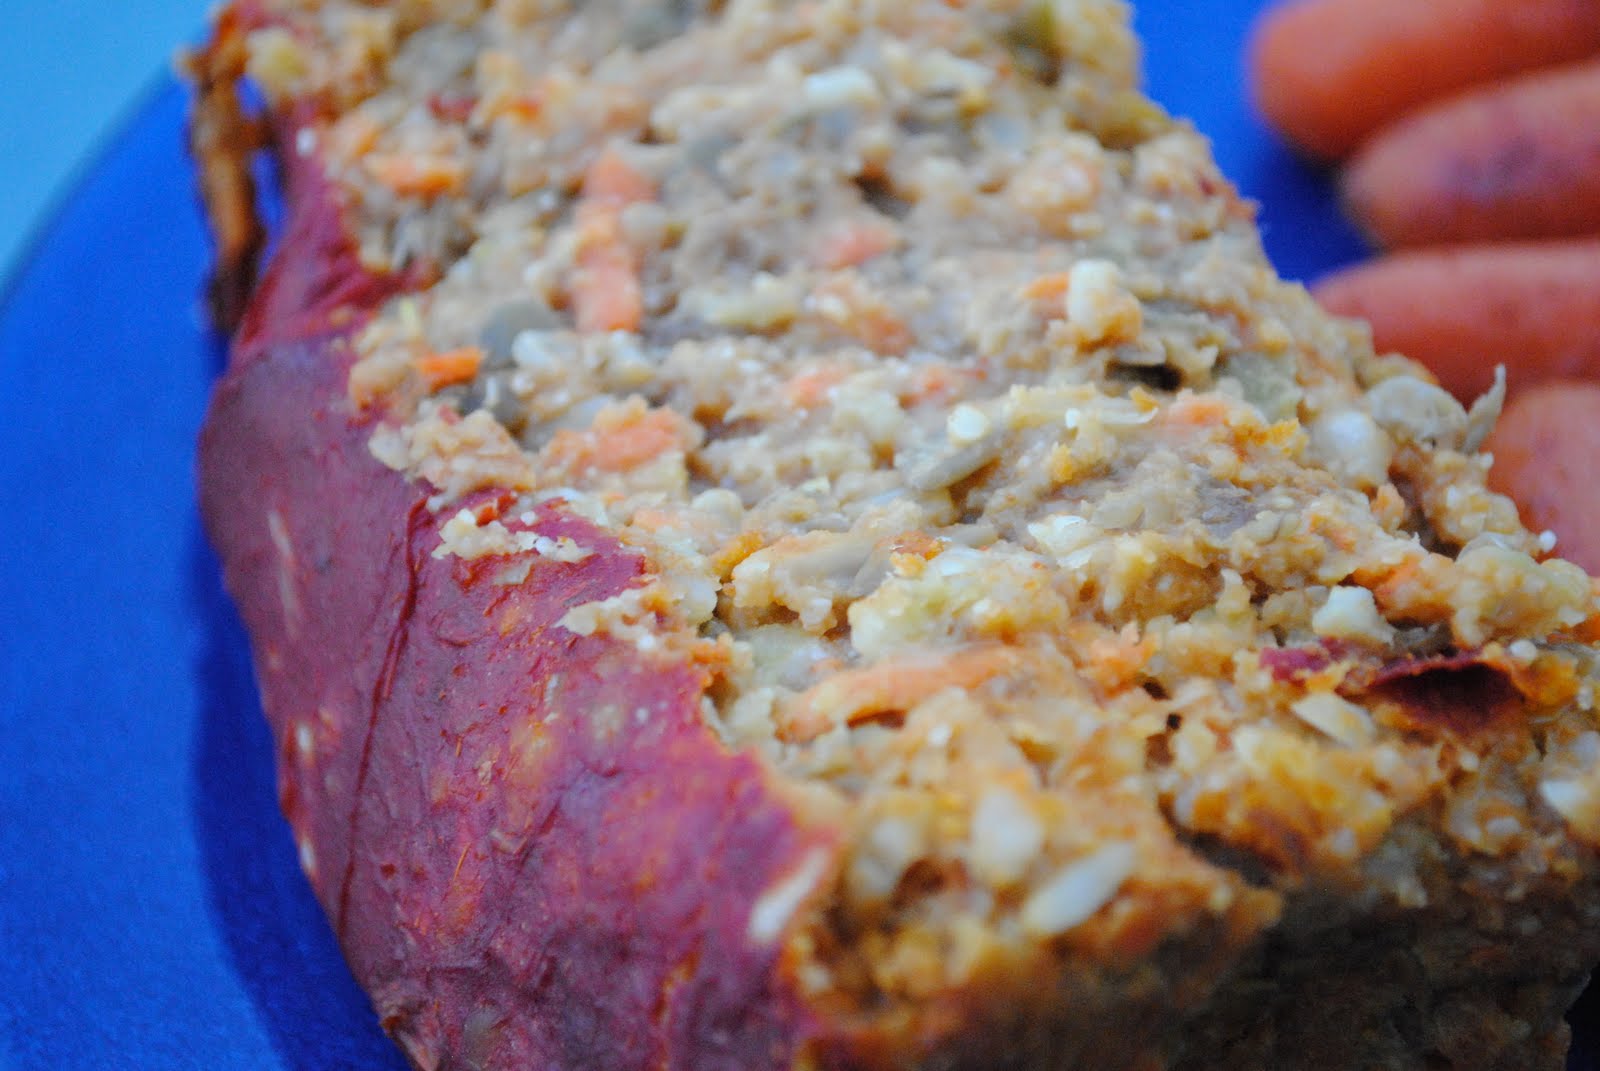
Cornbread Dressing with Bacon & Onions
I rely on boxed stuffing mix for this quick, delicious variation on dressing. It's a favorite with my entire family.

What You Need:
- 2 boxes of cornbread stuffing mix
- 1 large onion, diced
- 1/2 cup butter, divided
- 1/4 lb bacon, diced
How it's Done:
- Heat 1/4 cup butter in a skillet. Add bacon and onion. Cook and stir until onion is translucent and bacon is cooked.
- Bring to a boil 3 cups of water.
- Put the dry stuffing mix in a large mixing bowl. Cover with the bacon and onion. Top with the rest of the butter. When the water boils, pour it over the entire thing.
- Let the stuffing stand for five minutes.
- Grease a 2 quart baking dish. Transfer the stuffing to the dish. Pack it down tightly. Bake in the oven with your turkey for the last hour of cooking.
Pumpkin Yeast Rolls

These beauties are just a spin off of my favorite sweet potato rolls. They're easy to make and taste delicious.
What You Need:
- 1 cup warm milk
- 2 packets active dry yeast
- 1/3 cup granulated sugar
- 1 egg yolk
- 1/4 cup softened butter
- 1 tsp sea salt
- 1 cup pumpkin puree
- 3 to 4 cups flour (I used White Lily all-purpose flour)
How it's Done:
1.Proof your yeast: In your mixing bowl, combine warm milk, sugar, and yeast. Stir it up and then let it sit undisturbed for ten to twelve minutes. It should get bubbly and double in volume. (If it doesn't, don't proceed, because it means your yeast is dead. Go out and buy new, fresh yeast. Yeast should be used by the expiration date. If you buy it in a jar, use it within 6 months of opening.)
2.Stir in egg yolk, butter, and salt. Add pumpkin puree and stir to combine.
3.Half a cup at a time, stir in your flour. If you're not using a stand mixer, a wooden spoon is the best tool for this job. Your dough will be slightly sticky when all the flour is stirred in.
4.Turn out onto a lightly floured surface and knead until smooth. You could also use your stand mixer for this job. By hand, it will take about 8 minutes.
5.Form the dough into a ball. Coat lightly with oil and place in a large mixing bowl. Cover gently and let rise until doubled in size. This will take anywhere from 60 to 90 minutes.
6.Punch down your dough. Divide it into 10 equal parts. Roll each piece into a rope. Roll cinnamon-roll style, pinching the end seam to seal. Place each on a cookie sheet that's been oiled and dusted with cornmeal. Cover loosely. Let rise again, until doubled, about 45 minutes to an hour.
7.Preheat oven to 400 degrees. Bake rolls 12 to 15 minutes, until lightly browned.
8.Immediately upon removal from oven, brush rolls with melted butter.
Crustless Pumpkin Pie (a.k.a. Pumpkin Pudding)
This wonderful dessert will satisfy your desire for pumpkin pie and you won't even miss the crust! Better still: you can make it in your slow cooker, freeing up time AND oven space!

What You Need:
- 15 oz can of pumpkin puree
- 12 oz can evaporated milk
- 1 cup sugar
- 1/2 cup all purpose flour
- 3 large eggs
- 2 Tbsp melted butter
- 2 tsp vanilla extract
- 1 1/2 tsp ground cinnamon
- 1/2 tsp ground cloves
- 1/2 tsp ground nutmeg
- 1/4 tsp ground cloves
How it's Done:
- Beat eggs well. Add the rest of the ingredients and keep stirring until it's uniform in texture and color.
- Pour into a greased slow cooker.
- Cook on high for three to four hours. Start checking for doneness at the 3 hour mark. You'll know it's done when the center is set and it looks like a pumpkin pie.
- Serve as is or with whipped cream.
Pumpkin Bread Pudding
Make the most out of this favorite American fall food. Who says you need to stop at pumpkin pie? Try this delicious twist on a traditional bread pudding. I've used milk in place of heavy cream to cut down on calories, but make no mistake: this is a very rich dessert that's full of sugar. A little bit will do you well.

What You Need:
for the pumpkin bread:
- 15 oz can of pumpkin puree
- 4 large eggs
- 1 cup vegetable oil
- 1/2 cup milk
- 2 1/2 cups sugar
- 3 1/4 cups flour
- 1 tsp salt
- 2 tsp baking soda
- 2 tsp ground cinnamon
- 1 tsp ground nutmeg
- 1/2 tsp ground cloves
- 1/4 tsp ground ginger
for the custard:
- 3 cups milk
- 6 egg yolks
- 1 tsp vanilla extract
- 3/4 cup sugar
- 1 cup pumpkin puree
- 1 tsp ground cinnamon
- 1/2 cup sugar
- 1/2 cup butter
- 1/2 cup milk
- vanilla bean, scraped
- Bake the pumpkin bread. Preheat your oven to 350 degrees. Line three loaf pans (8x5 is fine) with foil and spray with nonstick cooking spray. Set them aside.
- Beat together the pumpkin, eggs, vegetable oil, milk, and sugar.
- In a separate bowl, mix flour, soda, and all the spices.
- Add the flour mixture to the wet ingredients all at once and stir only until combined.
- Divide amongst loaf pans and bake for about an hour, until a pick inserted near center comes out clean.
- Let the loaves cool completely. I like to wrap mine and store them overnight before use.
- Cut two of the loaves into 1/2" cubes. Spread them out on cookie sheets and bake at 325 for about 20 to 30 minutes, until they're toasted dry. You can use the other loaf another time.
- Set the cubes aside and prepare the custard. Bring the milk and vanilla extract to a simmer over medium heat, stirring very frequently to prevent scorching.
- Whisk the egg yolks, sugar, pumpkin puree, and cinnamon in a separate bowl.
- Slowly drizzle in the heated milk, stirring the whole time to prevent the eggs from cooking.
- Butter a 9x11" baking dish. Spread the pumpkin bread cubes evenly in the dish.
- Drizzle the custard over the cubes, stirring and pressing the cubes to fully saturate them with custard. Let it stand up to 30 minutes so that the bread soaks up the custard as much as possible.
- You need to cook this in a water bath, so find a pan bigger than the one you're cooking it in. Place the bread pudding dish into the larger dish and position the whole thing on the middle shelf in your oven.
- Pour hot water into the bottom dish.
- Bake for an hour. You want to see it puffed up, but the center will still be a bit jiggly. Take it out of the oven and out of its water bath. Let it stand 30 minutes before topping with sauce and serving.
- While it sits undisturbed, make your vanilla sauce. Bring all the ingredients (just the seeds of the vanilla bean, not the bean itself) to a boil in a sauce pan with high sides. Cook and stir for two minutes. Remove from heat.
- You can either drizzle the sauce over the entire dish, or you can drizzle a bit over eat individual serving. For additional flavor and eye appeal, sprinkle each serving with a combination of ground cinnamon, cloves, and nutmeg, to taste.

What You Need:
- 3 lb tart apples, cored (peel them if you want to. I left my peels on for color and texture)
- big bowl of water with Fruit Fresh added (for dipping the sliced apples)
- 2 Tbsp apple cider, orange juice, apple juice, lemon juice, or water
- 1/2 cup brown sugar (packed)
- 2 tsp ground cinnamon
- 2 Tbsp all purpose flour
- 1/2 cup all purpose flour
- 1/2 cup brown sugar
- 1/2 cup old fashioned rolled oats
- 1 tsp ground cinnamon
- 1/2 cup chopped nuts (optional, I omitted them today)
- 1/4 cup softened butter
How it's Done:
- Heat the oven to 375 degrees.
- Slice the apples thinly as you would for pie. Dunk them in the Fruit Fresh water ( I leave all the slices in the bowl until I'm ready to proceed).
- In a bowl, combine 1/2 cup brown sugar, 2 tsp ground cinnamon, and 2 Tbsp all purpose flour. Toss apples in sugar mixture.
- Grease a 2 quart baking dish. Pour the coated apples into the dish and distribute them evenly.
- Drizzle with whatever juice you prefer.
- Combine the topping ingredients: softened butter, oats, brown sugar, cinnamon, and nuts (if using). Sprinkle topping evenly on apples.
- Bake, uncovered, for 45 minutes, or until apples are tender and dish is bubbling.
- Serve warm with vanilla ice cream.
**********************************************************************************
I'd like to leave you with one final verse:
May your stuffing be tasty,
May your turkey be plump.
May your potatoes & gravy
Have nary a lump.
May your yams be delicious.
May your pies take the prize.
May your Thanksgiving dinner
Stay off of your thighs.